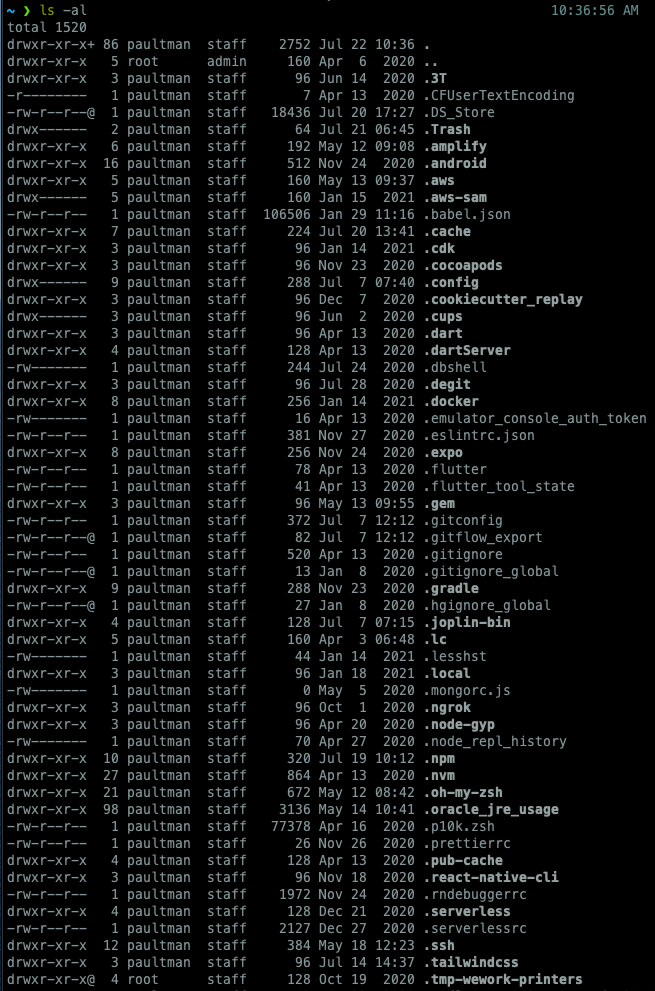
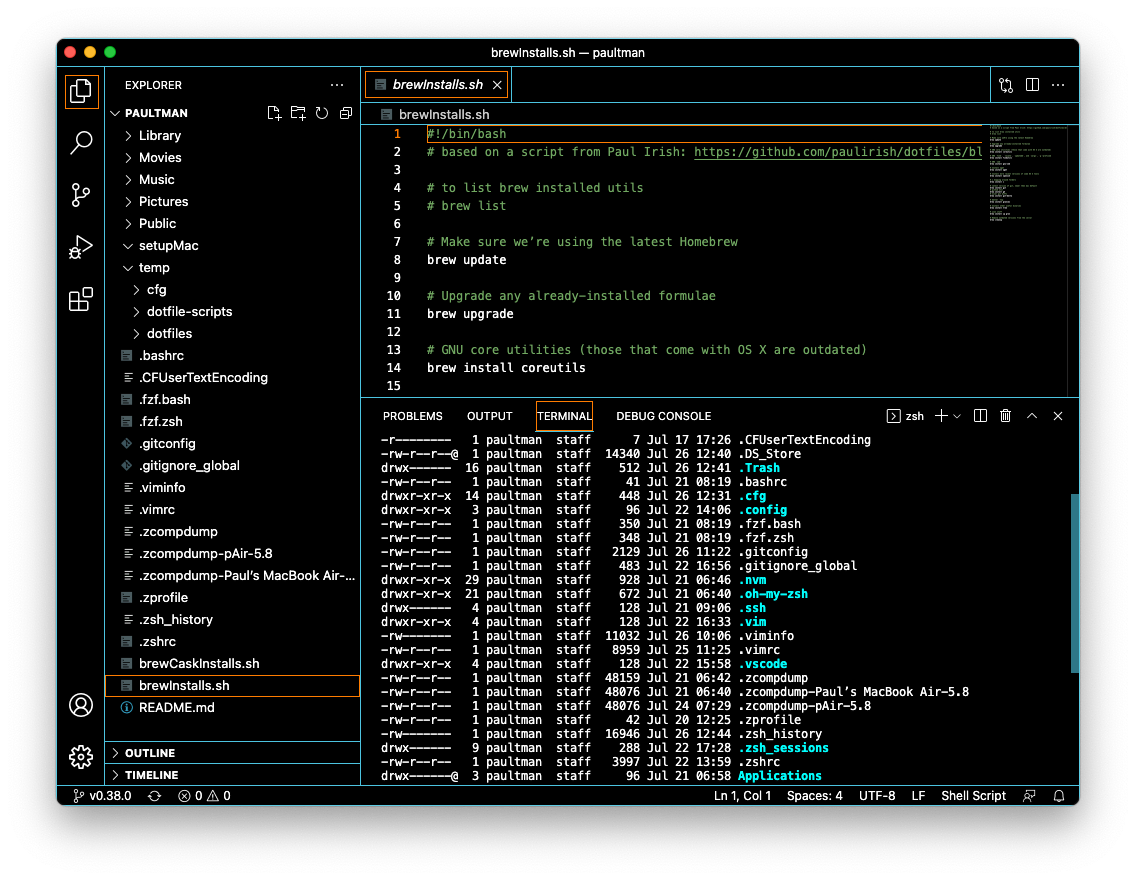
I recently transitions from a 2015 15” Macbook pro to a shinny new M1 macbook air. In the process of setting it up, I noticed a ton of dotfile configs.
This is from my home directory alone:

Half of them I don’t care about, and being a developer, I began looking for a way to manage the rest. Luckily I came across some good docs regarding using git to manage/track the files.
In my research, the process came down to two important parts. First, how to save the files using git, second, what dotfiles you should have and how should they be configured.
What the benefits of doing this setup? First, that you can easily setup configs on other machines, next you have configs in version control so u can review versions and safely try different settings, and last that you can look over the shoulder of more experienced developers and copy their setups.
I have made a screencast of the process, have a look on youtube. Also my starter repo is on github, review or clone it for your use.
Getting started: Git & a bare repo
Ok, so we all know that we can use Git for version control of files. The typical way is to have a project folder, init a git repo in that folder which creates a .git directory and saves all the versioning info in that folder.
With that setup, it would be common to copy dot-files like .bash_rc, .vimrc, etc to your repo directory also called your “working directory”, check-in the files, then put symlinks to those files in their original locations. You get the advantage of having all those important files in version control, however you have to remember where all the incoming symlinks are from.
One technique, pioneered by Nicola Paolucci formerly with Atlassian, is to not use a working directory, instead setup an alias to the git command which explicitly sets the proper git home and working tree directories so whenever it’s called, all the paths are relevant your dotconfig directories, no matter where you run them. With that, you don’t need a working directory. The files themselves, in their original locations, are the working files.
Lets get a repo together and see this in action. We will put our git files in /.cfg in our home directory, we will create an alias to our git command which includes the proper paths called “config”, and we will configure that aliased command not to show untracked files. Remember we will be in various directories with lots more files than the dot-files which we want to track, unlike if we had all our files in a single project/working directory.
git init --bare $HOME/.cfg- remember that $HOME is always our home directory ie /Users/[username]
- Initialized empty Git repository in /Users/paultman/.cfg/
echo "alias config='/usr/bin/git --git-dir=$HOME/.cfg/ --work-tree=$HOME'" >> $HOME/.zshrc- you could also just edit the .zshrc file directly, you’ll find an example aliases section near the bottom. Apple switched the default shell form bash to z-shell a few years back, so the z config resource file run whenever you open a terminal.
source .zshrc- to get the updated command in your current session, use source or simply open a new terminal
- after, you can try running config status, you’ll see lots of files which you don’t want to track
config config --local status.showUntrackedFiles no- now if you run config status, you will not see extra files which are not being tracked.
- next we will add files to be tracked, remember that config is git, just configured explicitly
config add .zshrc- you can try config status and you will see the file as you expect, ready to be commited
- you can also try the normal, git status and you should not see your ./cfg repo info
config commit -m "inital commit of zshell config"- the first commit, looks like normal git stuff.
- you can test it by removing the file, then restoring it with config checkout .zshrc
Now, as you create and update other dot config files, you can simply add them using that git alias you created. It’s also recommended to save your local repo to the network, maybe to your personal github account. When you are on a new computer, clone your repo but be sure to add that .cfg directory to your git ignore. Check the notes on the Atlassian page to install your repo to a new machine.
Next you might be asking, what are some good configs?
Mathias Bynens dotfiles He’s basically the guy who made dotfile versioning to mainstream.
Paul Irish dotfiles based on the aformentioned dotfiles, Paul adds a few nice utils and homebrew scripts for app instalation.
Basic Individual configs:
- .vimrc - 25k github stars, recently updated, have a basic (my choice) and awesome version (maybe overkill). Another recent (June, 2021) vim config with explanations.
- .gitignore - toptal has a great generator. I create a global version in my home directory, referenced from .gitconfig for my OS, mac. And in each project I work on, I make a language/framework specific file in the project root.
- .gitconfig - basic info and good alias section with comments
I have also added all the install programs to a shell script, copy these two scripts and make them executible via: $ chmod +x brewInstalls.sh brewCaskInstalls.sh
Clone Remote Dotfiles Repo to New Machine
Assuming you’ve followed the above steps and uploaded your dotfile configs to a remote repo, like github, next you’ll want to use it when actually setting up a new machine. * If you use my config, install the two dependencies below first.
When you clone the repo, you’ll again want to use the —bare flag. In my case, github is hosting my files, so to clone them, I’d use:
> git clone --bare https://github.com/paultman/setupMac.git $HOME/.cfg ensure that you have the updated git command (which includes the repo and your working tree locations. If not, define it with this command:
> alias config='/usr/bin/git --git-dir=$HOME/.cfg/ --work-tree=$HOME' With that done, checkout your files using a simple:
> config checkout
For the dotfiles in my repo (paultman/setupMac) there are two dependencies, ohmyzsh and the monokai vim theme, you can install them with these two commands:
> sh -c "$(curl -fsSL https://raw.github.com/ohmyzsh/ohmyzsh/master/tools/install.sh)" > curl https://raw.githubusercontent.com/crusoexia/vim-monokai/master/colors/monokai.vim --create-dirs -o ~/.vim/colors/monokai.vim
You will also find two shell scripts to install problems, brewInstalls.sh and brewCaskInstalls.sh. run them to install the tools/programs. But first install home-brew itself:
> bash -c ”$(curl -fsSL https://raw.githubusercontent.com/Homebrew/install/HEAD/install.sh)”
Nodejs Installation
You will notice that I didn’t use homebrew to install nodejs nor the popular NVM package to manage node versions. That’s because it’s recommended to use NVM, and brew is not the recommended install method according to their github readme:
Homebrew installation is not supported. If you have issues with homebrew-installed
nvm, pleasebrew uninstallit, and install it using the instructions below, before filing an issue.
After doing the above brew installs, which also installs x-code command line tools and a newer version of git, you are ready to directly run their script to install nvm.

checking dependencies and installing NVM
July 26, 2022: updated to version 0.39.1
curl -o- https://raw.githubusercontent.com/nvm-sh/nvm/v0.39.1/install.sh | bash
That install command is directly from their readme, check it for the current version.
The script installs nvm to ~/.nvm and updates your .zshrc file

With NVM setup, open a new window to get your updated environment and install the latest version of node:
> nvm install node
> nvm use node
Reference/Inspiration material
https://dotfiles.github.io/ a one stop shop with lots of great info and repo links
